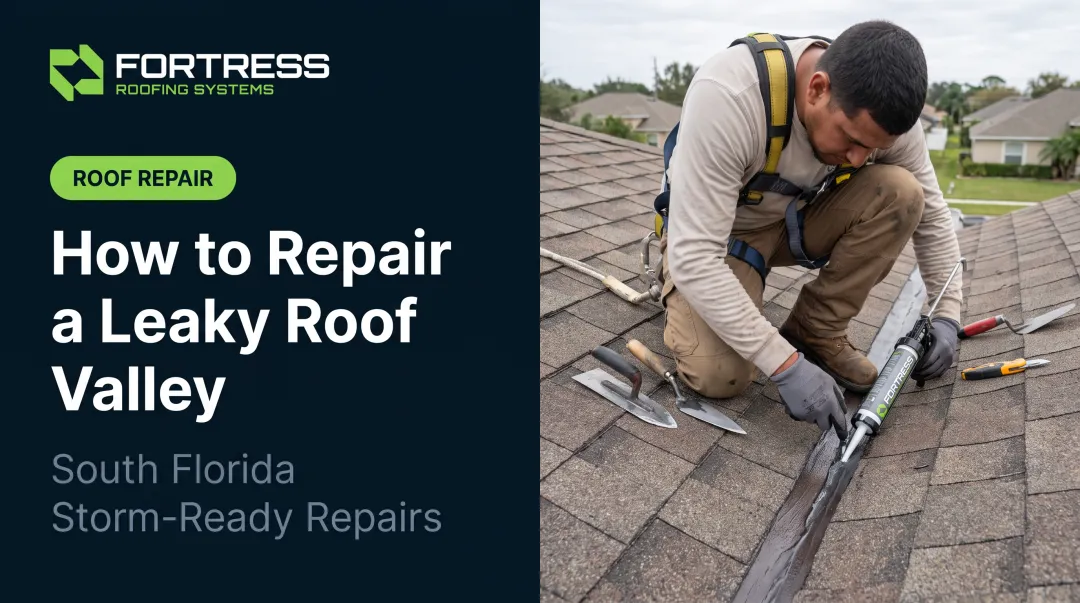
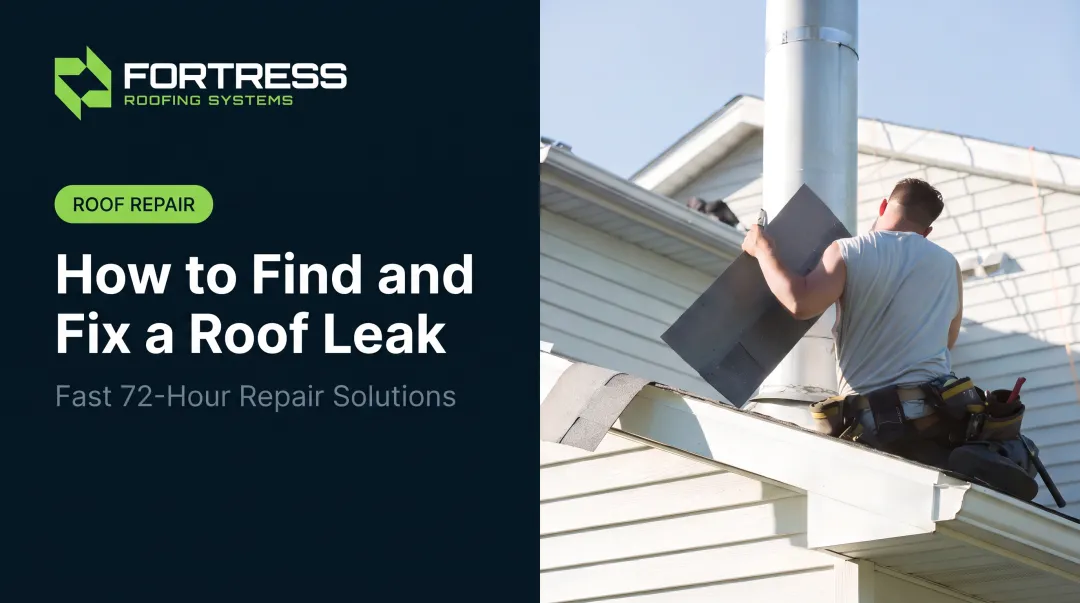
That boot takes a beating. Between relentless UV exposure, tropical heat, and hurricane-force winds, vent boots and flashing degrade over time, and eventually, most will leak. This guide walks through why that happens, how to fix it yourself, when repair beats replacement, and when it's time to call a professional like Fortress Roofing Systems.
TL;DR
- Cracked rubber boots or failed flashing seals are the most frequent causes of vent pipe leaks
- Minor leaks can often be resealed; cracked boots or rusted flashing usually need replacing
- Locate the leak, inspect the boot and flashing, reseal or replace, then test
- Steep roofs, recurring leaks, or storm-damaged flashing need a professional
What Is a Roof Vent Pipe (and Its Boot)?
A roof vent pipe, formally called a vent stack, is the vertical pipe that extends through your roof to circulate air through the plumbing drainage system. It keeps the water seals in your drain traps from getting sucked dry and vents sewer gases outside instead of back into your home.
Where that pipe meets the roof, building code requires the junction to be watertight through approved flashing. That's the job of the boot, a rubber or thermoplastic collar fitted into a metal base that wraps snugly around the pipe.
Unlike shingles or roof decking, the boot is a wear item. It's designed to flex with thermal movement and resist UV exposure, but it won't last as long as the surrounding roofing material. That's why it needs periodic inspection—especially under South Florida heat and UV, which dry out and crack boots faster than in milder climates.

Common Problems With Leaking Roof Vent Pipes
Vent pipe leaks follow a few predictable failure patterns. Most trace back to age plus weather exposure—especially harsh UV and storm winds.
Common failure points:
- Cracked or split rubber boot: Ceiling stains near baths or kitchens and cracking at the pipe base. UV and heat cycling dry out the rubber until it splits.
- Lifted or corroded metal flashing: Rust streaks, loose nails, and water tracking under shingles. Age, poor original nailing, or wind uplift are typical causes.
- Failed sealant or caulk joint: A leak only in heavy rain, with no visible cracking. Sealant shrinks over time or was applied poorly at install.
- Pipe movement or misalignment: Gaps between pipe and boot that widen over time from settling, thermal expansion, or a flawed original install.

Why Roof Vent Pipes Fail (Root Causes)
South Florida's climate speeds up nearly every common vent pipe failure. A few conditions stand out:
- Intense UV and heat cause rubber boots to lose flexibility and crack faster than in milder climates
- Hurricane-force winds and wind-driven rain stress flashing seals and can lift edges enough to let water in, a risk FEMA warns about
- Low-grade boot material or improper original installation shortens service life regardless of climate
- Skipped routine inspections let small cracks go unnoticed until they become ceiling stains
Ignoring a vent pipe leak rarely stays a small problem. The EPA recommends drying water-damaged materials within 24 to 48 hours to limit mold growth. Prolonged moisture can also lead to wood decay.
Left unchecked, a minor drip can turn into:
- Soaked attic insulation and wood rot
- Mold growth and indoor air quality problems
- Water-stained ceilings and drywall requiring interior repairs
- A compromised roof deck over time

How to Fix a Leaking Roof Vent Pipe (Step-by-Step)
Diagnosing the exact failure point first saves you from a repeat leak next storm season. Here's the process.
Step 1: Identify the Exact Leak Source
- Check the attic first. Water trails usually lead straight back to the vent pipe penetration
- Inspect the boot from the roof surface for cracks, gaps, or dry rot
- Examine flashing edges and nearby shingles for lifting or rust
- Note whether the leak only shows up during heavy rain, which often points to a sealant issue rather than a structural one
Step 2: Gather Tools and Materials
Gather these before you climb:
- Caulk gun and waterproof roofing sealant
- Replacement boot or rain collar
- Corrosion-resistant roofing nails
- Pry bar and safety harness
Bring a helper and follow standard ladder and roof safety practices. This isn't a solo job on a steep or wet roof.
Step 3: Apply the Fix Based on the Problem
If the boot is cracked but flashing is sound:
- Remove the old caulk completely
- Slide a new rubber boot or rain collar snugly over the pipe
- Seal the top and base with a flexible, UV-resistant roofing sealant
If flashing is lifted, rusted, or damaged:
- Carefully pull back surrounding shingles to expose the flashing base
- Remove and replace the full flashing/boot assembly
- Re-nail with corrosion-resistant roofing nails, then seal the nail heads and reseal shingle edges
If it's just a failed sealant joint:
- Scrape away all old, cracked caulk
- Apply a fresh bead of sealant around the base and pipe collar
- Let it cure fully before the next rain
Full flashing replacement means working under shingles on a sloped surface. If the roof is steep, two stories up, or the decking feels soft, stop and bring in a licensed roofer.
Step 4: Test and Validate the Repair
Run a garden hose over the repaired area to simulate rainfall while someone checks the attic for moisture. Don't stop there. Monitor the spot after the next couple of real rain events to confirm the fix actually holds.

When Should You Repair vs. Replace a Roof Vent Pipe?
The right call depends on the boot's age, the flashing's condition, and how far the damage has spread.
| Scenario | Repair | Replace |
|---|---|---|
| Minor sealant failure, boot otherwise intact | Reseal and monitor | Not needed unless it recurs |
| Boot is brittle and visibly aged | Temporary patch buys limited time | Full boot replacement recommended |
| Flashing rusted with shingle damage nearby | Not viable long-term | Flashing and affected shingles together |
| Leak has caused deck rot or interior damage | Insufficient alone | Deck repair plus professional assessment |
If you're staring at rotted decking or water-stained drywall, that's the point to bring in a professional.
Fortress Roofing Systems' Master Elite Installers can diagnose the full scope of damage with tools like infrared thermal imaging and moisture mapping. The work is backed by a warranty, not a patch that fails again next season.
Common Mistakes to Avoid When Fixing a Vent Pipe Leak
A few shortcuts turn a simple vent pipe fix into another leak. Avoid these:
- Caulking over a cracked boot instead of replacing it outright—only buys weeks, not years
- Skipping the hose test, which leaves your fix unverified before the next storm
- Using non-UV-rated sealant that breaks down within months in direct sun
- Walking on wet or steep shingles without fall protection, a risk that isn't worth skipping a service call
Preventive Measures to Avoid Future Vent Pipe Leaks
Catching problems early beats repairing ceiling damage later. Build these checks into your routine:
- Schedule a roof inspection annually, ideally before hurricane season ramps up
- Replace rubber boots at the first signs of brittleness or cracking
- Trim overhanging branches and clear debris that traps moisture around roof penetrations
- Log past repairs so you can spot repeat problem areas
- Enroll in a professional maintenance plan for early detection before small issues spread
Conclusion
Most vent pipe leaks are fixable if you catch them early and diagnose them correctly. The right fix depends on the cause—a cracked boot, lifted flashing, or a failed sealant joint. Get that wrong and you end up doing the job twice.
If the leak keeps coming back, or it followed a storm, bring in an experienced local roofer instead of patching the same spot again. South Florida homeowners can contact Fortress Roofing Systems for fast repairs and help with insurance claims when DIY fixes aren't enough.
Frequently Asked Questions
How much does roof vent repair cost?
Costs depend on the scope—simple collar reseal versus full flashing replacement—plus roof pitch and whether shingles must be disturbed. A local inspection is the most reliable way to get an accurate estimate.
How much does it cost to replace a roof vent pipe boot?
A standalone boot replacement usually costs less than a full flashing rebuild because it skips pulling back shingles or replacing the metal base. Labor rates and roof access still affect the final price.
What should I do if my roof is leaking from a vent?
Check your attic first for water trails leading back to the pipe penetration, and apply a temporary seal if you can safely access the area. Schedule a professional inspection soon after to confirm the fix holds.
What causes roof vent leaks?
The top causes are UV-degraded rubber boots, storm-damaged or corroded flashing, and failed sealant joints. All three accelerate faster in hot, sun-exposed, storm-prone climates like South Florida.
Is it common for roof vents to leak?
Yes. Manufacturer guidance from GAF identifies plumbing vent penetrations as vulnerable points and a frequent source of roof leaks, largely because they face constant sun and weather exposure.
How often do roof vent pipe boots need to be replaced?
There's no universal timeline. Replacement depends on the boot's material, sun exposure, and visible condition rather than a fixed age. Annual inspections are the best way to catch brittleness before it turns into a leak.